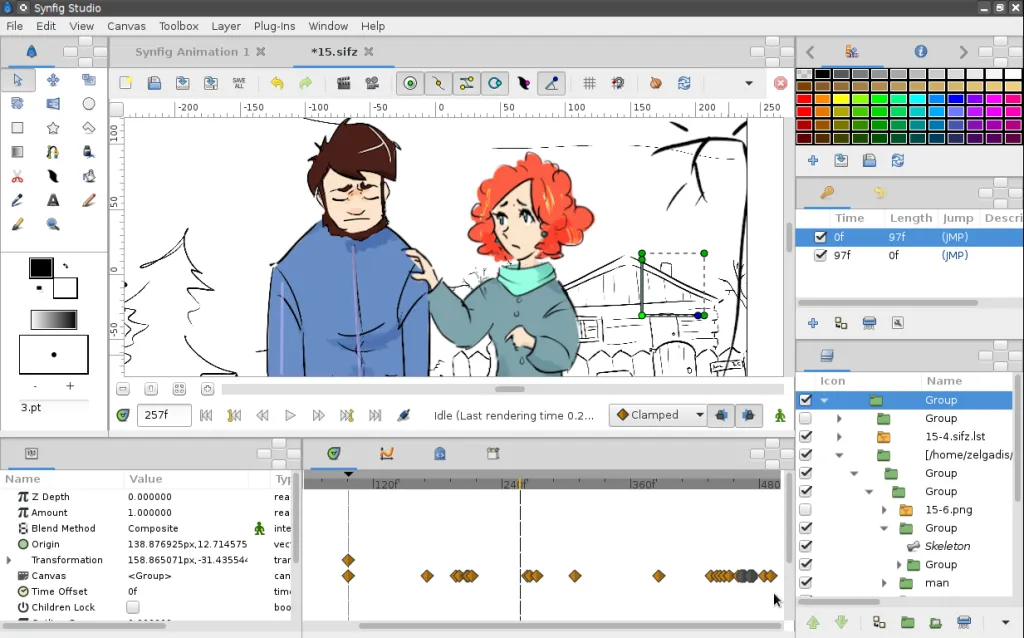
A good brand needs an that tells the audience what this brand is about and what they do. Here we are not going to teach you the guide to designing an attractive logo, but we will go a step ahead. In this article below, we will discuss a step-by-step guide to creating an animated logo design.
A static and one-dimensional logo is a good option if you are following traditional ways of marketing methods like brochures and flyers. But if you want to have a strong digital identity, then you should design a unique and attractive animated logo for your brand.
At iCreativeSol, we have an experienced team of logo designers. Our designers have many years of experience in creating animated logo designs for top brands.
We don’t deny the importance of static and one-dimensional logos, it is still vital. But the evolution of digital media has created a massive need for a logo that stands out, and an animated logo design can help to achieve this objective in a subtle way.
Let’s delve into the guide on how you can create an animated logo design using Adobe Illustrator.
Step-By-Step Guide to Creating an Animated Logo Design
1. Prepare the Logo File
The first step to creating an animated logo design for your brand is to prepare a source file, to make sure that our logo file is set up for animation.
The logo design source file should be in vector format, although the animation software itself is raster-based. The vector-based format allows the design to be altered without sacrificing the quality of the logo design. For instance, scaling up a raster logo results in pixelation. Furthermore, it will be beneficial later on while working with shape layers.
Another thing to do is to lay out each object rather than grouping them together. This way you can create more complex animations easily by animating each object of the design separately. You can create new layers by using Add New Layer feature at the bottom of the Layers panel, then simply copy and paste the different logo pieces into them.
2. Import the logo into After Effects
Now open After Effects. This interface might look complicated at first, but let’s break down these elements:
i. Tool Panel
Here you can access the fundamental graphic building tools such as type tool, pen tool, etc.
ii. Project Panel
You can organize and manage the media files for your overall project in this panel.
iii. Composition Window
It is the preview window where you can view the animation on the current composition that you are working on. These compositions are often referred to as comp. Comps are essentially the scenes that each have their own animation timelines separately.
iv. Timeline
It is where you build your animation. It consists of the literal timeline on the right and the comp area on the left.
v. Control Panel
In the control panel, you can get access to various support functions such as paragraph and alignment options, media information, also ready-made animation and visual effects libraries built into After Effects.
If you are not sure about any tool or button, bringing your mouse cursor on it will provide you with a description.
3. Set Up Composition
A composition (comp) is a container that you can use to layer, edit and then apply animations to media files. A bigger production, for instance, a movie, contains multiple comps that are managed in the project panel. So you can consider comps as a single scene within that movie, and each comp will have its own separate timeline. In this case, a logo animation that is shorter than five seconds long requires very few comps.
4. Animate with Keyframes
Keyframes are the way that After Effects and most animation software work. Keyframes are actually the markers that you can set along the timeline to determine when the starting and ending states should occur for your animation.
Let’s understand this mechanism with very simple animation, i.e., fade-in. There are different elements attached to an object, and these elements are changed over a set amount of time is essentially what animation is. To see these elements, click the expand icon next to the logo comp and the subsequent Transform property.
5. Animate your Logo with Shape Layers
In this step of the animated logo design creation process, we will learn some exciting animation techniques with the help of shape layers. Shape layers are objects that contain pathing information, for example, connecting lines and anchor points (similar to those in vector programs), and exploiting these opens up the door to a whole host of animation possibilities beyond the Transform property.
6. Adjust your Animation Timing
Now let’s talk about timing, which depicts the pacing of animation frames throughout an animation. To see a visible representation of timing, navigate to the Graph Editor. To do so, click the Graph icon near the top of the timeline panel, and this will modify the timeline to a linear graph. When you select one of your keyframe attributes, you will see a straight line from one keyframe to the other.
7. Export your Animated Logo
When your finished animated logo design is ready to export, head over to File > Export > Add to Adobe Media Encoder queue. After Effects generally exports an MP4 file by default, which is fine for video. You can also export it as an animated GIF if you want to create a shareable image file of the logo animation.
Ending Notes
Animated logo designs are way more than just a popular trend that brands are following to keep surviving in the competition. An animated logo design is an excellent way of creating a moment of visual delight for anyone who interacts with the brand, and this is the undeniable magic of animating a logo.
If you want animated logo design services for your brand, contact us. Our team of professional animated logo designers can create an amazing logo for your brand, which gives you a competitive edge over your competitors.


